
iD Mixonomi Flooring Installation Guide
Last updated:
The success of the installation depends on proper substrate preparation, correct moisture management and precision in the positioning of the geometric shapes from the iD Mixonomi range.
- Substrate Preparation (Ceresit DA) iD Mixonomi is a luxury vinyl flooring (LVT) that requires a perfectly flat surface, as any imperfections will be visible on the finished surface (‘telegraphing’).
Cleaning: The existing floor must be clean, dry and free from dust, oil or old adhesive residues.
Priming: Before applying Ceresit DA, it is recommended to use a suitable primer (e.g. Ceresit CT 17 or CN 94) to ensure adhesion.
Application of the self-levelling compound: * Mix Ceresit DA according to the instructions (water ratio).
Apply the material to a thickness of 0.5–10 mm.
Use a spike roller to de-aerate the mixture.
Drying Time: According to Tarkett, the substrate must have a moisture content of <2 per cent (CM method) for cementitious substrates before proceeding to the next stage.
-
Acclimatisation of Materials Prior to installation, the iD Mixonomi must be left in the installation area for at least 24–48 hours, at a temperature between 18°C and 25°C, to allow them to stabilise dimensionally.
-
Application of Adhesive (UZIN 398 D) UZIN 398 D is a specialised adhesive (magnetic/pressure-sensitive) ideal for environments where future easy removal or stability on PVC is required.
Application Method: Apply using a fine-pored roller or a trowel with very fine teeth (A1).
Flash-off time: It is crucial to wait until the adhesive becomes transparent and tacky to the touch, but does not transfer to your finger. This prevents moisture from becoming trapped beneath the vinyl.
Advantage: It ensures that the complex patterns of Mixonomi are held firmly in place, preventing them from shifting during installation.
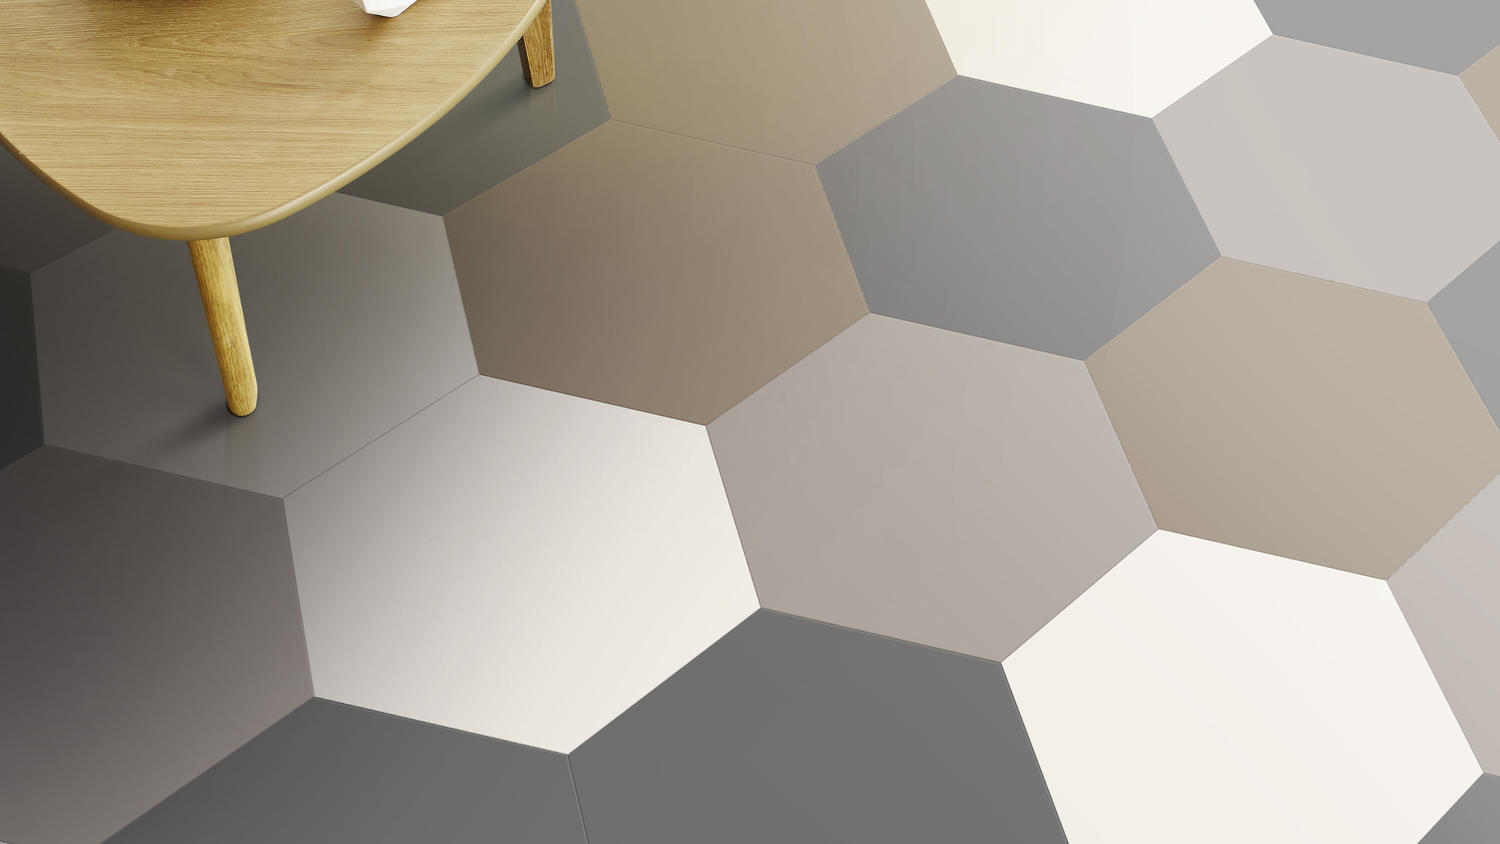
- Installation of iD Mixonomi (Tarkett instructions) iD Mixonomi is based on 7 geometric shapes that can be combined with one another.
Layout: Start from the central axis of the room. Due to the geometric shapes, a slight deviation at the start can lead to large gaps later on.
Laying: Lay the tiles ‘tightly’ next to one another without applying excessive pressure that could distort them.
Rolling: After laying each section, roll over the surface with a pressure roller (weighing at least 50 kg). This ensures that the adhesive is fully transferred to the back of the tile and eliminates any air pockets.
- Final Steps Avoid foot traffic: Do not walk on the floor for at least 24 hours after completion.
Furniture: Heavy furniture may be placed after 48–72 hours.
Cleaning: Tarkett recommends cleaning with neutral cleaning products (pH 7–10) to maintain the product’s TopClean XP coating.