
Bathroom & Kitchen Waterproofing System with CERESIT Products
Last updated:
Proper waterproofing beneath tiles is essential to prevent moisture in the substrate and ensure the longevity of the structure. Follow the steps below:
Step 1: Substrate Preparation & Priming The surface must be dry, clean, stable and free from cracks.
Product: Use CERESIT CT 17 | Deep-penetrating primer to enhance adhesion and reduce the surface’s absorbency.
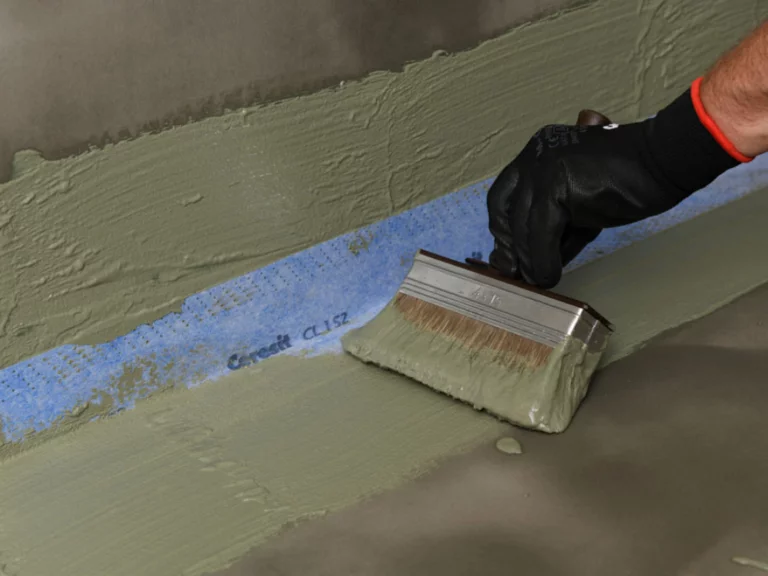
Step 2: Waterproofing Critical Areas (Corners & Pipes) Before applying the coat over the entire surface, pay particular attention to wall-to-floor corners and pipe penetrations.
Product: Apply CERESIT CL 152 | Waterproofing tape at the corners, embedding it between two layers of waterproofing material.
Step 3: Application of Waterproofing Membrane For domestic bathrooms and kitchens, a flexible waterproofing membrane is required that can be easily applied with a roller or brush.
Product: Apply CERESIT CL 51 | Waterproofing for bathroom 1 C in two coats. The second coat should be applied approximately 2 hours after the first.
Alternative solution (for higher performance requirements or outdoor use): CERESIT CR 166 | A two-component elastomeric cementitious compound.
Step 4: Tile Laying Once the waterproofing has dried completely (approximately 4 hours for CL 51), proceed to lay the tiles.
Product: Choose a flexible adhesive such as CERESIT CM 17 SUPER FLEXIBLE (ideal for underfloor heating and difficult substrates) or CERESIT CM 16 FLEXIBLE.
For specialised applications (mosaics, marble), we recommend CERESIT CM 25.
Step 5: Grouting & Sealing Complete the installation by applying a waterproof grout and sealing the sanitaryware.
Grout: CERESIT CE 40 Aquastatic.
Sealant: CERESIT CS 25 | Sanitary silicone sealant for joints around washbasins, toilets and shower trays.