
Waterproofing & Tile Installation System
Last updated:
Technical Guide: Ceresit Waterproofing & Tile Installation System
Step 1: Preparation & Priming The surface must be clean, dry and free from dust.
Product: Ceresit CT 17. Application: Prime all absorbent surfaces (render, cement screed, plasterboard). The primer enhances the adhesion of subsequent coats and reduces absorbency.
Step 2: Waterproofing Corners & Joints The areas most prone to leaks are wall-to-floor joints and vertical corners.
Product: CERESIT CL 152 (Waterproofing Tape). Application: Apply a layer of CL 51 to the corners, place the CL 152 tape onto the fresh material and press it down firmly. Then, cover the edges of the tape with a second layer of waterproofing material.
Step 3: Main Surface Waterproofing Here we create the impermeable protective membrane.
Product: Ceresit CL 51 Express. Application: Apply the first coat over the entire surface (walls and floor) using a roller or brush. After 2 hours, apply the second coat in a criss-cross pattern. Tip: In the shower, the waterproofing must extend to a height of at least 2 metres.
Step 4: Alternative Solution – Separation Membrane (Optional) If the floor has cracks or is a ‘difficult’ substrate (e.g. wood or old tiles), use the membrane to isolate the stresses of the substrate from the tiles.
Product: Ceresit CL 69. Application: It is bonded to the substrate with a thin layer of tile adhesive, providing immediate waterproofing and counteracting thermal expansion and contraction.
Step 5: Laying Tiles Four hours after applying CL 51, the surface is ready.
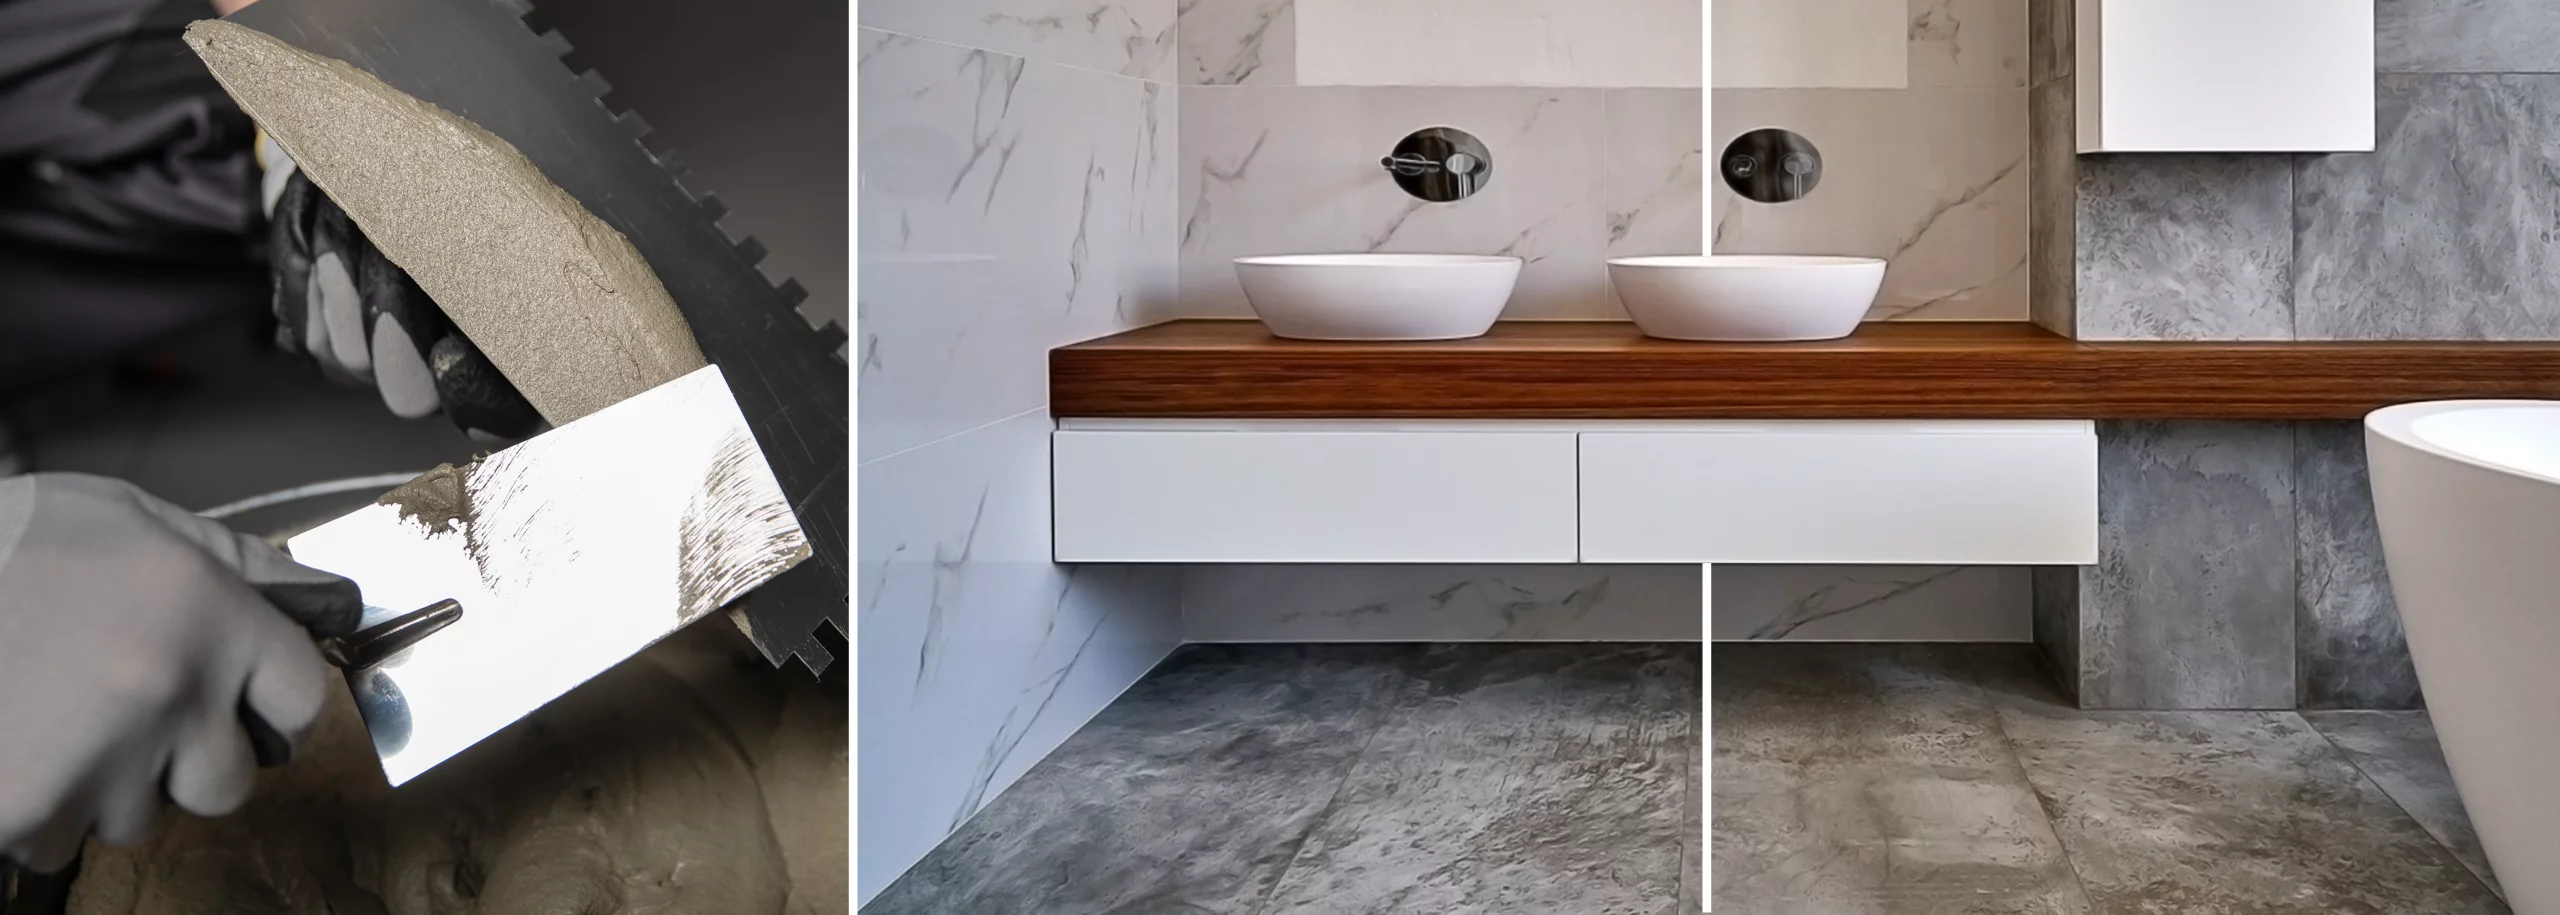
Product: Ceresit CM 16 or CM 17 (Flexible adhesives). Application: Use a notched trowel. CM 17 is recommended for large tiles or for floors with underfloor heating due to its maximum elasticity.
Step 6: Grouting & Sealing The final stage, which provides an aesthetic finish and additional protection.
Grout: Ceresit CE 40 Aquastatic. It provides a smooth surface that repels water and mould.
Sealing Corners: In corners and around sanitary ware (toilet, washbasin), use the silicone Ceresit CS 25 in the same shade as the grout.
Summary of Materials: