Tapered flat roof insulation
Last updated:
Slope and thermal insulation in a single layer, without sloped screed and no waiting period. Send us a floor plan — ARGYNET will draw up an installation plan.
The system at a glance
- FIBRANxps INCLINE | Creating slopes
- FIBRANxps 300 | Flat roofs
- ESHACOAT 6S | Elastomeric bituminous emulsion
- ESHASTICK P-P | Self-adhesive elastomeric bituminous waterproofing membrane
- ESHADIEN SBS -20 | Elastomeric bituminous membrane
- ESHADIEN ULTRAWHITE SBS -20 | Cool roof
- ULTRAPLY™ TPO Membrane | Thermoplastic polyolefin membrane
- QDRAIN C20 65 10F | 20 mm drainage geosynthetic
Solutions & Applications · Flat Roof Thermal Insulation
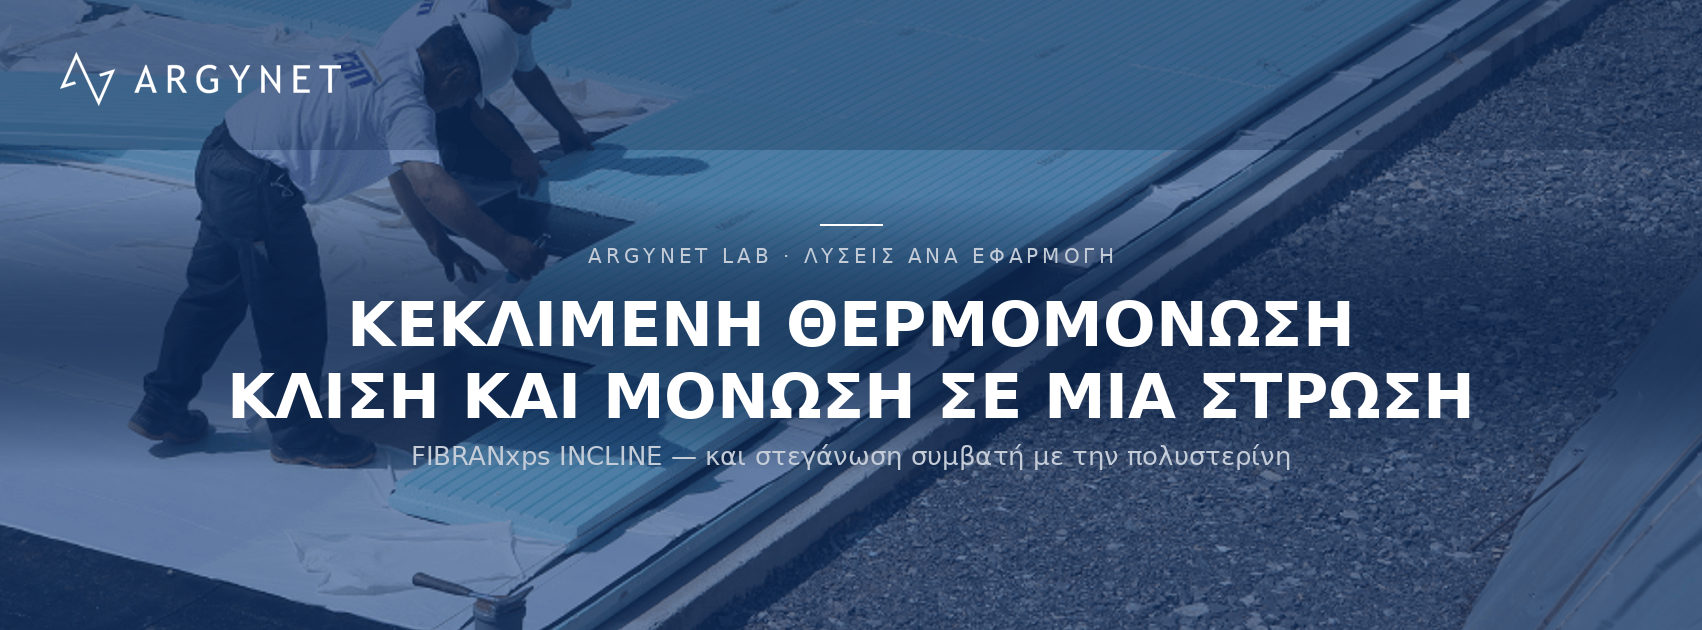
FIBRANxps INCLINE slabs have a 0.5 per cent–3 per cent slope on one surface and solve two problems at once: they form drainage channels and provide thermal insulation. The heavy, wet sloped screed is replaced by a dry, waterproof substrate — and with it, a whole month is saved from the schedule.
The structure of the system
| Layer | Material | Role |
|---|---|---|
| Filler (optional) | White paving slabs on QDRAIN | Visibility and protection |
| Waterproofing | Double-layer bituminous membrane or thermoplastic TPO | Waterproofing — compatible with polystyrene |
| Sloped insulation | FIBRANxps INCLINE, gradient 0.5–3 per cent | Slope and thermal insulation in a single layer |
| Building substrate | Slab or load-bearing element | — |
The slope is ‘built’ into the insulation; the waterproofing follows this and ensures drainage. No rigid layer is inserted between them — and this is not a simplification, it is a prerequisite.
What does the sloping slab replace?
| Sloped screed | FIBRANxps INCLINE | |
|---|---|---|
| Time | 21–28 days’ curing time before waterproofing | No waiting — the next phase begins immediately |
| Load | Dead load on the slab | Lightweight — crucial for refurbishment and extensions |
| Thermal contribution | None — on the contrary, a thermal bridge | The thickness of the slope provides insulation |
| Moisture | Introduces construction moisture into the system | Dry construction |
The thermal expansion coefficient of XPS is approximately seven times that of concrete. This figure explains the entire rationale behind the system.
XPS expands by approximately 0.07 mm per metre for every degree of temperature change; cement by approximately 0.01. On a Greek flat roof, where the surface temperature fluctuates between 5 and 70 °C within a single 24-hour period, the difference between the two materials is of the order of four millimetres per running metre.
No rigid cementitious layer can withstand this stress when laid over XPS: it cracks, and the crack is transmitted to the waterproofing layer resting on top of it. That is why the waterproofing is installed directly onto the boards, using a material that follows the movement rather than resisting it. At ARGYNET, we specify the system as a whole and calculate materials per m².
Two options we do not recommend
Both seem sensible on paper, but both fall short in practice — particularly in hot weather.
- Rigid adhesive-mesh layer with a brush-on finish. The cementitious base coat applied to the XPS cracks for the reason described above, and pulls the final waterproofing layer with it.
- PVC membrane in direct contact with XPS. Plasticised PVC-P is chemically incompatible with polystyrene: the plasticisers migrate into the insulation. The membrane loses its integrity, becomes brittle and shrinks — and this shrinkage pulls at the seams and perimeter flashings. A separating geotextile is required, or, better still, a compatible material should be chosen.
System 1 — Bituminous membranes, double layer
- ESHASTICK PP — 2 mm self-adhesive bituminous membrane, cold-applied directly onto INCLINE slabs.
- ESHADIEN SBS −20 °C — elastomeric membrane, 4.5 kg/m², with grey granules, heat-welded to the first layer.
The key is the sequence: the self-adhesive first layer acts as a thermal barrier — the flame from the second layer never comes into contact with the insulation.
Two ways to prevent the flame from reaching the insulation
It is useful to distinguish between them, as they result in different material and technical requirements:
| Self-adhesive underlay | Perforated vapour pressure release layer | |
|---|---|---|
| Home | Complete physical separation — no contact between the flame and the insulation | Controlled flame application to the roll; the bitumen adheres at specific points through the holes |
| Adhesion | Continuous | Point-source, with a network of air ducts between |
| Advantage | Zero risk on site; simpler supervision | Water vapour release via vents — prevention of blistering |
| Standard | INCLINE sloped insulation | Flat roof with existing slopes and flat insulation |
System 2 — TPO thermoplastic membrane
ULTRAPLY Elevate TPO 1.5 mm with polyester reinforcement is installed using mechanical fastenings. As a polyolefin, it is fully compatible with polystyrene — it does not suffer from the problem of plasticiser migration associated with PVC — and its light-coloured, highly reflective surface reduces thermal loads.
It is the recommended choice in high-temperature climates: the material itself reduces the cause of stress, rather than simply withstanding it.
Mechanical fixing, however, introduces its own requirement: the fixing density is calculated in relation to wind pressure, per flat roof zone — the perimeter and corners require more fixing points than the centre. In coastal and wind-exposed locations, wind uplift loads are high, and verification of the substrate’s suitability is a prerequisite.
The design of the slopes is carried out on the drawing
Sloping slabs must not be laid ‘by eye’. A laying grid is required, starting from the guttering and extending outwards, with the thickness specified at each point.
- Slope target: selected so that water does not remain standing — in practice, at least 1.5–2 per cent on the main drainage routes. The lowest gradients in the range are used for local adjustments and counter-gradients.
- Ridge lines and valleys: where two slopes meet, the detail must be designed before the order is placed — otherwise it will be cut on site, resulting in wastage.
- Minimum thickness at the lowest point: the thermal insulation requirement must be met at that point, not on average. Where this is insufficient, an underlying layer of constant thickness must be added.
The installation plan is drawn up by ARGYNET
The layout of sloping slabs is not a job for the building site. It is a calculation: which slab goes where, what thickness it starts at and ends at, how the slopes meet at the ridges, and how many pieces are required in total.
We are preparing this plan ourselves. It does not need to be worked out on site, nor does it need to be estimated approximately in the quantity take-off.
| What you are sending us | What you get |
|---|---|
| Flat roof plan with dimensions | Installation plan showing the exact layout of the slabs |
| The positions of the gutters are marked | Thickness and type of slab at each position on the grid |
| The slope to be achieved | Detailed quantity take-off by item code — no estimates |
| Any specific requirements: parapets, light wells, equipment bases | Technical and financial quotation based on the design |
The benefit is twofold. The specifier receives a documented quantity rather than an estimated area based on average thickness — and the contractor receives a drawing that the contractor crew can follow, without any off-cut pieces, without wastage due to miscalculation and without any doubt as to whether the slope will be correct in the end.
The slope on pitched roofs is not a fixed percentage — it depends on the geometry. A rectangular flat roof with a single drain in the centre is cut differently from a L-shaped roof with three drains and two skylights.
That is why the ‘area multiplied by average thickness’ quantity take-off gives the wrong figure almost always: sometimes slabs are missing at the end of the project, and sometimes there are surplus items that are not used anywhere else. In both cases, someone ends up footing the bill.
Please send us the floor plan with dimensions, the positions of the guttering and the required slope. We will return the installation plan, the detailed quantity take-off and the quotation.
Vapour barrier: when
It is assessed according to the use of the underlying space. It is required where significant moisture is generated — swimming pools, preparation rooms, industrial premises — and in colder climatic zones. It is always installed on the warm side: on top of the slab, beneath the insulation.
Accessible flat roof
Where walkability over the waterproofing is required, a three-dimensional QDRAIN C20 65 10F drainage geomembrane, 20 mm thick, shall be laid, and on white paving slabs measuring 30×30×3 or 40×40×4 cm.
The white panels are not an aesthetic choice: they act as a second reflective layer, reducing the temperature reaching the waterproofing and insulation.
Design series
- Gutter positions — this is where the design of slopes begins, not the other way round.
- Thermal target and minimum thickness at the lowest point.
- Selection of a waterproofing system: double-layer bituminous or TPO, based on thermal exposure.
- Wind pressure and fastening density per zone, where mechanical fastening is selected.
- Use of the underlying space — determines the need for a vapour barrier.
- Accessibility: where required, a drainage layer and ballast shall be provided from the outset.
Insulation & Slopes
System 1 — Bituminous Waterproofing
System 2 — TPO & Accessibility
Case studies & Related Solutions
Please send us a floor plan showing dimensions, drainage channels and the required gradient — we will return a drawing, a quantity take-off and a quotation.
Request a Technical Quotation