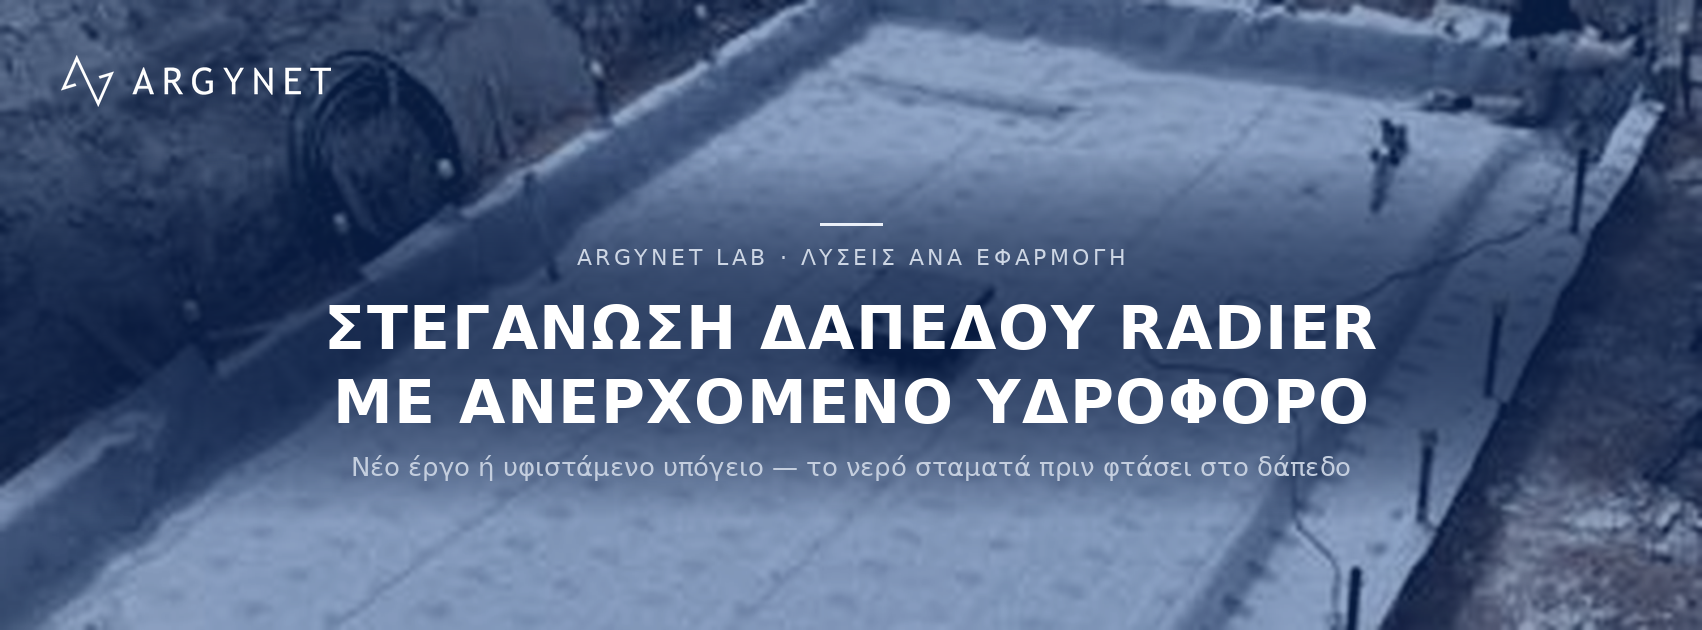
Waterproofing of Basement Floors (Radier) with a Rising Water Table
Last updated:
Water comes from below and waterproofing is carried out from the inside: negative-pressure crystalline materials first, followed by an epoxy finish.
The system at a glance
- VANDEX PLUG | Fast-setting sealant for active leaks
- VANDEX SUPER | Penetrating crystalline concrete waterproofing agent
- VANDEX BB 75 | 1C Cementitious Waterproofing Render
- VANDEX UNIMORTAR 1 | Waterproofing and repair mortar
- CERESIT CR 90 Crystaliser | Crystalline waterproofing mortar
- CERESIT CR 65 | Single-component, rigid cementitious waterproofing compound
- SINMAST S2 WB | Water-based epoxy primer
- SINMAST RM 32 | High-strength epoxy protective coating
- MacLine GCL | Bentonite Membrane
- MacLine | HDPE geomembranes
- ESHAPROTECT | HDPE protective membrane
- SINTOMIX SM N | Mass waterproofing compound
- ESHAHYDROBENT | Water-swelling bentonite cord - waterstop
- PVC Waterstop | Waterstop tapes for concrete joints
Solutions & Applications · Basement Waterproofing
When the water table is close to the foundation level, the basement floor is exposed to water from the one side we cannot see: from below. The solution depends first and foremost on one question — has the raft foundation already been concreted or not? In a new build, the water is stopped outside the concrete before the concrete is poured. In an existing basement, the problem is tackled from the inside, using materials that can withstand negative pressure and work within the concrete itself.
New or existing ground slab?
| Status | Where does waterproofing come in? | Basic rationale |
|---|---|---|
| New project — prior to concreting | Beneath the slab and around the perimeter of the walls (positive side) | Continuous membrane waterproofing, concrete with mass waterproofing, joint sealing with waterstop |
| Existing basement — damp or water ingress into the floor | On the upper surface of the slab (reverse side) | Sealing of penetrations, crystalline waterproofing, damp-proof course and subsequent finishing |
An external waterproofing membrane is always the safest solution, as the water presses the waterproofing against the concrete. However, once the slab has been concreted, its underside is no longer accessible — and any work must be carried out from the inside, against the pressure of the water.
Positive and negative pressure
| Side | What’s happening? | Suitable materials |
|---|---|---|
| Positive | The waterproofing is on the water side — the pressure presses it firmly against the concrete | Geomembranes, bentonite membranes, bituminous membranes, liquid-applied coatings |
| Negative | The waterproofing is on the opposite side — the pressure is trying to peel it away | Only materials with a declared resistance to negative pressure: crystalline and special cementitious materials |
Liquid-applied coatings and paints that merely adhere to the surface do not constitute negative-side waterproofing. The first selection criterion is always the same: does the manufacturer specify resistance to negative pressure?
New radier: waterproofing before the concrete is poured
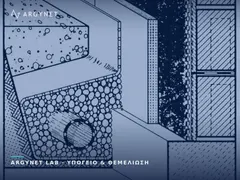
In new construction with a high water table, the waterproofing is designed as a continuous membrane: the membrane is laid on the concrete, turned up around the perimeter towards the walls and secured before the reinforcement is installed. The construction detail is analysed in the section on the waterproof basement envelope; the options are summarised here.
| Item | Material | What to bear in mind |
|---|---|---|
| Waterproofing beneath the slab | MACLINE HDPE geomembrane | Virgin HDPE free from plasticisers, resistant to chemicals, salts and roots. The seams are heat-sealed and inspected |
| Alternative barrier | MACLINE GCL bentonite membrane | It self-heals in drill holes, but only when encased; it requires an overlying load to develop expansion pressure |
| Membrane protection | ESHAPROTECT or protective geotextile | Reinforcement, spacers and the contractor crew traffic are the primary causes of perforation |
| Concrete slab | SINTOMIX SM N mass waterproofing | Dense-pored concrete for ground slabs and basement walls; chloride-free, suitable for reinforced concrete with reinforcement |
| Slab-to-wall joint | ESHAHYDROBENT or PVC Waterstop | The construction joint is the weakest point of the formwork — it is sealed before the second concrete pour |
Existing ground slab: internal waterproofing in five stages
Stage 1 — Sealing active ingress points
Before any general application, identify the active leakage points: cracks, cavities, penetration holes and the floor-to-wall joint. VANDEX PLUG is a fast-setting cementitious compound that sets in approximately 30 seconds after mixing and stops the flow of water, even on wet surfaces. The perimeter joint is reinforced with a channel of VANDEX UNIMORTAR, a waterproofing repair mortar for positive and negative hydrostatic pressure.
Stage 2 — Crystalline waterproofing
Crystalline products do not form a film on the concrete — they work within it. Their active compounds react with the free calcium and moisture in the pores to form insoluble crystals that seal pores and small cracks, whilst the concrete continues to ‘breathe’.
| Product | What the manufacturer states |
|---|---|
| VANDEX SUPER | Crystalline-action penetrating waterproofing · negative pressure up to 14 bar · protection against seawater and chemically aggressive groundwater · approved for drinking water |
| CERESIT CR 90 | Crystalline slurry; positive side up to 15 m, negative side up to 5 m water column; seals capillary cracks up to 0.4 mm; vapour-permeable |
They are applied to sound concrete, fresh but not waterlogged, and are kept damp for as long as specified by the manufacturer. Where an additional cementitious layer is required, select a material with a specified strength on the negative side — VANDEX BB 75 (negative pressure 7 bar) or Ceresit CR 65 — from the same product family as the crystalline coating.
Stage 3 — Moisture measurement and primer for the barrier
The residual moisture content of the concrete is measured prior to the first organic coat. The CERESIT R 755 epoxy primer seals concrete floors with moisture content up to 7 per cent CM and cement screeds up to 6 per cent CM. For rising damp, two coats are applied in a criss-cross pattern, with the second coat applied no later than 48 hours after the first has dried.
Stage 4 — Levelling
An epoxy finish requires a smooth and level substrate. Ceresit DH Maxi is a high-strength, self-levelling compound for layers of 3–30 mm in interior applications. CERESIT CN 76 covers thicknesses of 4–50 mm, both indoors and outdoors, where greater thicknesses are required.
Stage 5 — Epoxy finish
Priming with SINMAST S2 WB, a water-soluble, solvent-free epoxy resin, virtually odourless — important in basements with limited ventilation. Top coat with a two-component, solvent-free epoxy paint, SINMAST RM 32 or SINMAST RM 22, in a RAL colour of your choice: impervious to liquids, abrasion-resistant, easy to clean.
Epoxy is a finish, not waterproofing. An impermeable coating applied to a raft foundation that is still drawing up water from below traps moisture at the interface — this is where blisters and delamination occur, usually during the first winter.
If the water pressure is high and persistent, internal waterproofing has its limitations: internal drainage to relieve the pressure should be considered. In any case, the uplift of the slab is a matter for a structural analysis, not for waterproofing.
At ARGYNET, we specify the entire system using compatible families of materials and calculate quantities per m².
Mistakes that cost
| Incorrect | Consistency |
|---|---|
| Liquid-applied coating on the negative side | Delamination and blistering — the water pushes it from behind |
| Crystalline coating over old paint or cement screed | It does not reach the pores; the reaction does not take place |
| Epoxy without moisture measurement | Bubbles and delamination during the first winter |
| Omission of the floor-to-wall joint | Water bypasses the waterproofing along the perimeter |
| New slab without membrane protection | Holes caused by reinforcement and spacers, which are not repaired after concreting |
The sequence of works on an existing raft foundation
- Diagnosis: points of ingress, water level, condition of concrete.
- Cleaning of sound concrete — removal of coatings, loose parts and cement screed.
- Sealing active ingress points with quick-setting mortar and a drip channel at the floor-to-wall joint.
- Crystalline waterproofing on a damp substrate, with the required wet curing.
- Cementitious layer on the negative side, where required.
- Moisture measurement and primer in two cross-layers.
- Self-levelling compound to the required thickness.
- Epoxy primer and paint.
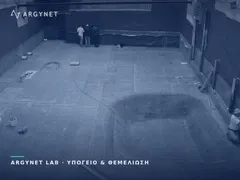
New Radier · Trough & Joints
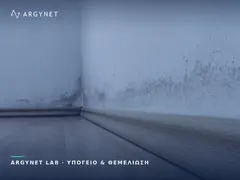
Existing Radier · Negative Side
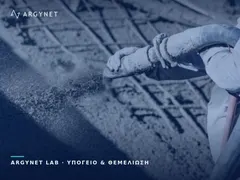
Levelling & Epoxy Finish
Related Solutions from ARGYNET LAB
New build or existing basement? Please send us the water level and the square metres.
Request a Technical Quotation